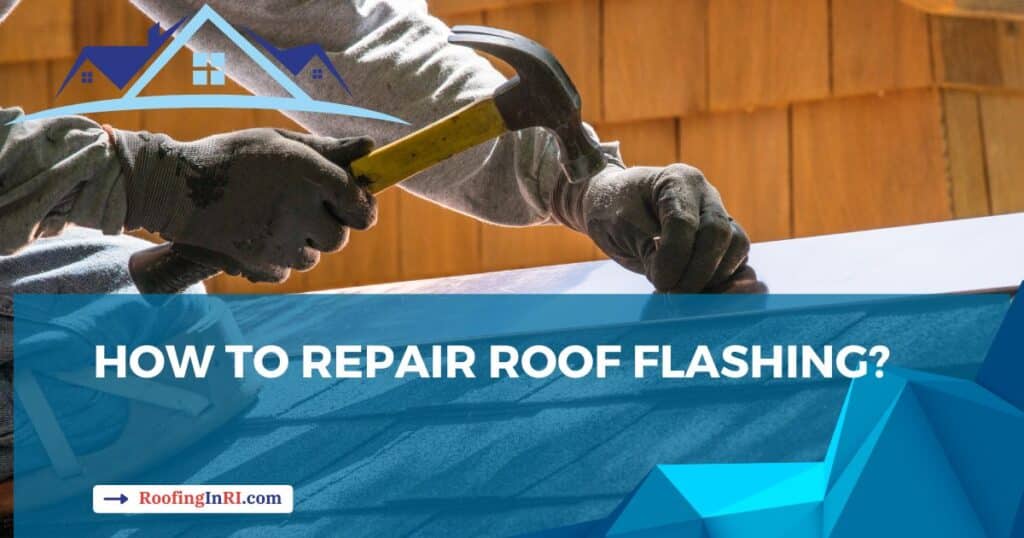
Roof flashing is often overlooked but crucial in maintaining roof integrity. Properly functioning flashing is vital in preventing water leaks.
In this article, I will guide you through repairing roof flashing, empowering you to tackle this task confidently.
You will learn the essentials of roof flashing, signs that indicate it needs repairs and step-by-step instructions on how to perform the repairs yourself.
Let’s get started.
What is roof flashing?
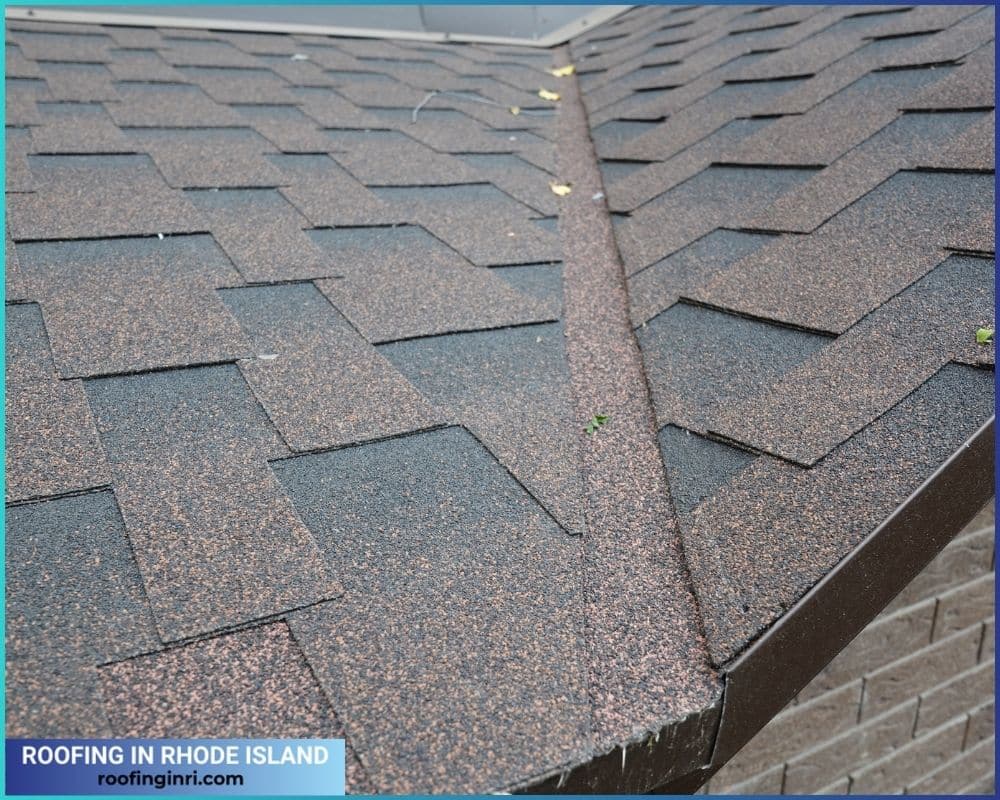
Roof flashing is a thin material, typically made of metal or other durable materials, installed at vulnerable points on your roof to prevent water penetration.
These vulnerable points include intersections, joints, and edges where water can seep.
Flashing acts as a barrier, directing water away from these critical areas and ensuring your roof remains watertight.
Related: Energy-efficient roofs: What they are & what to look for
How can you determine if your roof flashing requires repairs?
Detecting issues with your roof flashing is crucial for maintaining a leak-free roof. Here are some signs that indicate your roof flashing may need attention:
- Visible Damage: Search for any visible damage to the flashing, such as rust, corrosion, or bent sections.
- Water Stains: Interior water stains indicate water infiltration through compromised flashing.
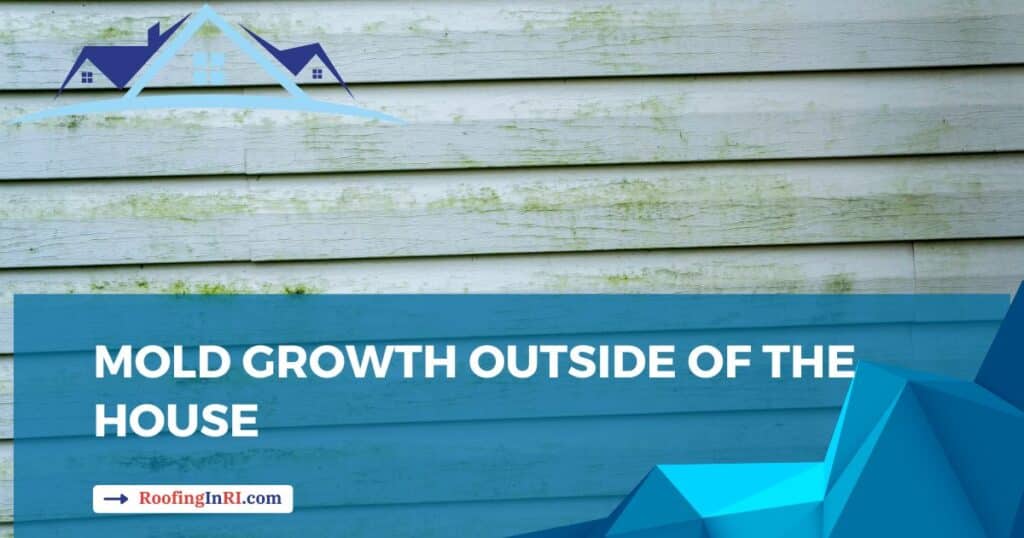
- Mold or Mildew: Excessive moisture due to faulty flashing can create a breeding ground for mold and mildew. If you notice these growths, it’s time to inspect your flashing.
- Loose or Missing Shingles: Shingles that are loose or missing around the flashing area may expose the vulnerable spots, allowing water to seep in.
- Roof Leaks: If you experience roof leaks during heavy rainfall, the flashing may fail to divert water away from critical points.
Related: 7 roofing problems are the most common in Rhode Island
Can you repair your roof flashing?
Yes, you can! Repairing roof flashing is a task that, with the right tools and guidance, can be successfully undertaken by homeowners.
It’s essential to address issues promptly to prevent further damage. Let’s explore the steps involved in a roof flashing repair.
Read also: How to claim roofing insurance for storm damage?
How does a roof flashing repair work?
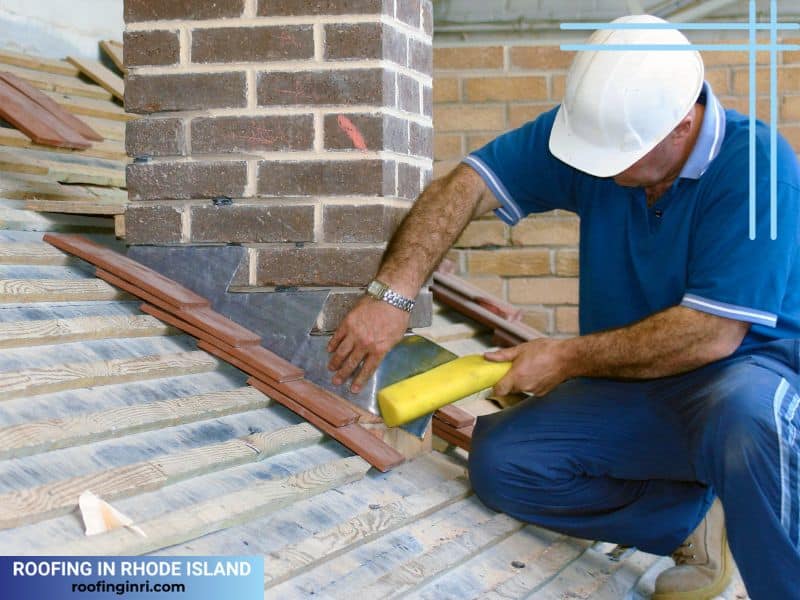
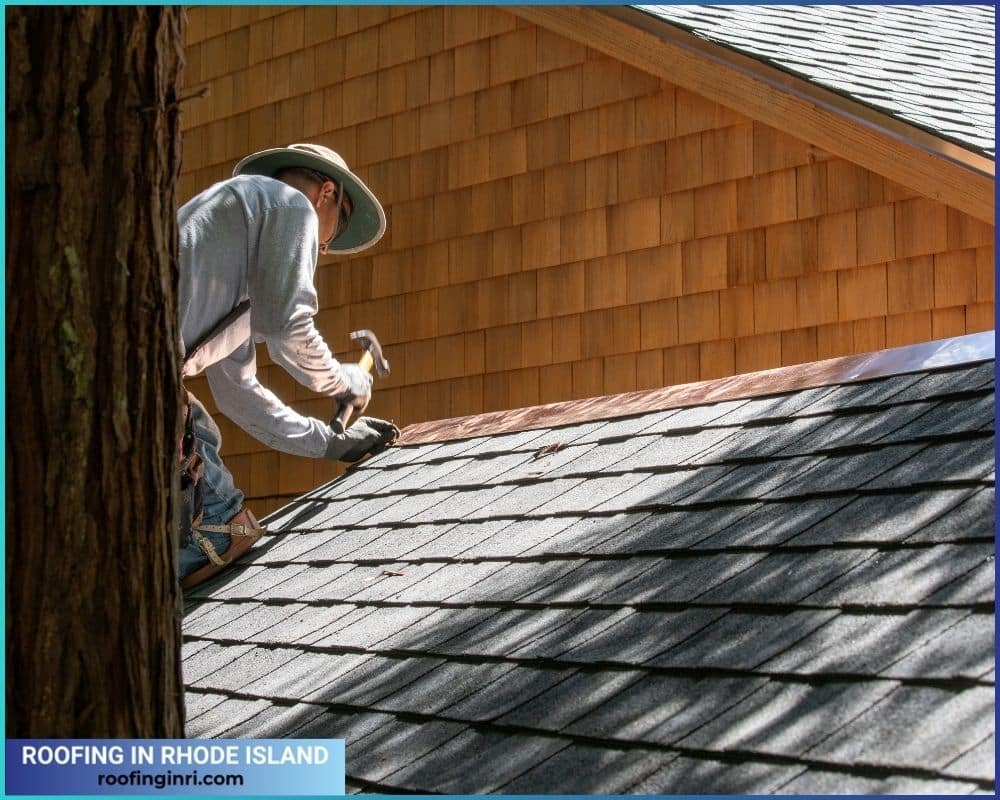
Step 1: Remove shingles around the roof flashing
Begin by carefully removing the shingles surrounding the damaged flashing. Use a pry bar or a shingle ripper to lift and detach the shingles, exposing the flashing underneath. Take caution not to damage the adjacent shingles during this process.
Read also: How to claim roofing insurance for storm damage?
Step 2: Address minor repairs
Inspect the exposed flashing for minor issues, such as rust or small punctures. Remove rust and a patching material, such as roof cement or roofing sealant, to seal small holes or cracks.
You can use a wire brush. Before applying the patch, ensure the surface is clean and dry.
Read also: Will home insurance cover a leaking roof?
Step 3: Remove any fastening materials
Detach the fastening materials, such as nails or screws, securing the damaged flashing in place. Carefully remove the old flashing, noting its shape and dimensions to ensure the new flashing fits precisely.
Read also: How do you get roof replacements from your insurance company?
Step 4: Install new roof flashing and then reinstall the shingles removed
Place the new flashing in the exact location as the old one, ensuring a snug fit. Secure the flashing with appropriate fasteners, ensuring it is firmly in place.
Once the flashing is secure, carefully reinstall the shingles you removed in the first step. Use roofing nails to secure the shingles, and ensure they overlap the flashing to create a watertight barrier.
Read also: What are roofing supplements, and how to deal with them effectively?
Professional Roofing Services in Rhode Island – Call Us Today!
While repairing roof flashing on your own can be rewarding, sometimes it’s best to leave it to the professionals. We understand the importance of a secure and watertight roof and offer top-notch roofing services in Rhode Island, including Providence, Pawtucket, and Woonsocket.
We are well-equipped to handle any roof flashing repair or replacement precisely and efficiently. By choosing our services, you can ensure that the job is done right the first time, giving you peace of mind and saving you from potential future issues.
Don’t let roofing problems linger – contact us today at (401) 868-1313 for a free consultation. Whether you need a flashing repair, roof replacement, or general maintenance, our team is ready to serve you in Rhode Island. Invest in the longevity and resilience of your roof with us. Your satisfaction is our priority!
Frequently asked questions
Yes, you can patch roof flashing. For minor issues such as punctures or rust, use a wire brush to eliminate the rust and apply roofing sealant or cement to seal the damage. Before applying the patch, make sure the surface is clean and dry. However, for more extensive or critical damage, it’s recommended to consult professionals for a comprehensive repair or replacement to ensure long-lasting effectiveness in preventing water leaks.
It is possible to replace roof flashing without replacing the entire roof if it is damaged or deteriorating. You can remove and replace the flashing independently. The process involves eliminating shingles around the flashing, addressing minor repairs, removing fastening materials, installing new flashing, and reinstalling shingles. This targeted approach allows for effective maintenance without needing a complete roof replacement. If you’re unsure about the extent of the damage or the best course of action, it’s advisable to consult with roofing professionals for a thorough assessment and precise repair.
Inspect the flashing for visible damage, rust, or gaps to locate the source of the leak. Use a wire brush to clear rust, dirt, or debris from the affected area for a proper seal. Use roofing sealant or roof cement to patch minor holes, cracks, or gaps in the flashing. Apply the sealant evenly and smoothly. Use patch materials compatible with your roofing system for more extensive or significant damage. Ensure the patch covers the affected area adequately. Once the patch material is applied, secure the flashing, ensuring it’s tightly fastened. After completing the repair, thoroughly inspect the area and conduct a water test to ensure that the leak has been resolved. If unsure or for more complex issues, I recommend consulting roofing professionals for a comprehensive, long-lasting solution.
In most cases, this will cost from $200 to $500 on average. This cost is for a simple replacement. However, this is a general estimate, and prices can range higher for larger roofs or more intricate flashing systems. The cost to replace flashing around a roof varies based on factors such as the type of material used, the extent of damage, and the location.
For a more accurate cost assessment, get quotes from local roofing professionals. Professional roofing contractors can assess the specific needs of your roof, offer a detailed cost estimate, and suggest the most appropriate materials based on your budget and location. Last, investing in quality materials and expert installation will prevent future problems and costs.
Conclusion:
Repairing the roof flashing is an important task that can prevent potential water damage and expensive repairs in the future.
Identifying signs of flashing issues early on is crucial, as is following the step-by-step guide to address the problem confidently. Don’t hesitate to take action regarding roof flashing – it will benefit your home in the long run.
Ready to elevate your home’s protection and curb appeal? Call us at (401) 868-1313 today for expert roofing solutions in Rhode Island (Providence, Pawtucket & Woonsocket) – because your roof deserves the best care it can get!