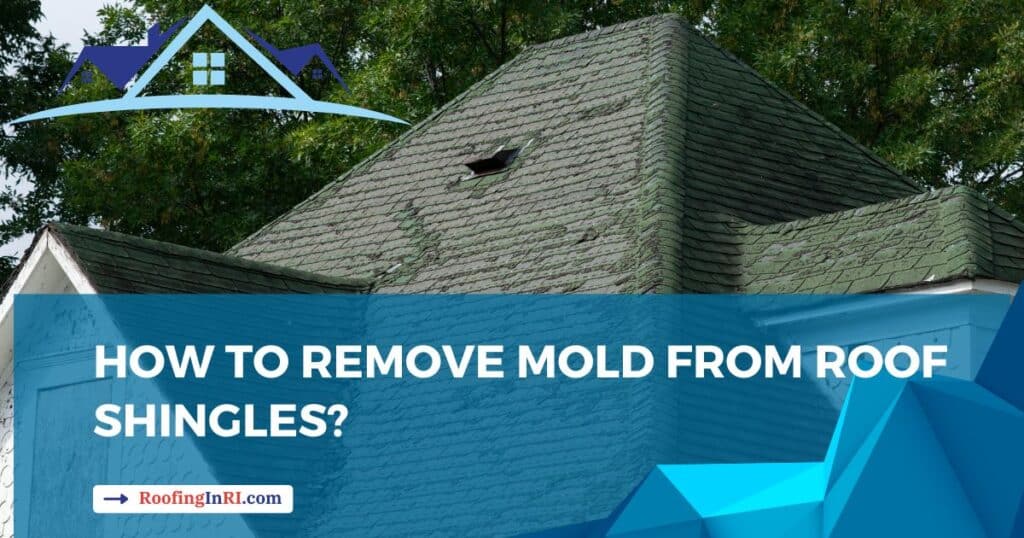
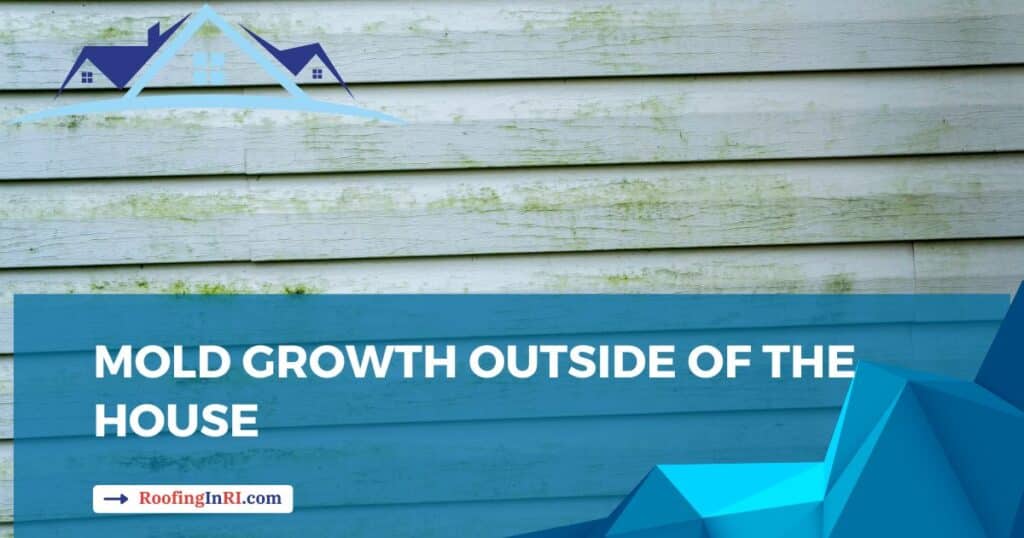
You will find mold in damp and humid environments, including bathrooms, basements, kitchens, attics, and on surfaces like walls, ceilings, carpets, and wooden structures. Outdoors thrive on decaying organic matter and grow on roofs, siding, and soil. In the same vein, you will find mold in roof shingles.
Mold on shingles typically appears as dark or discolored patches, often green, black, or brown. It may have a fuzzy or slimy texture. These patches can spread and compromise the integrity of the shingles over time. Also, it can harm your home’s structure and health.
In this post, I will show how to remove mold from roof shingles.
Let’s get started.
A step-by-step guide to removing mold from roof shingles
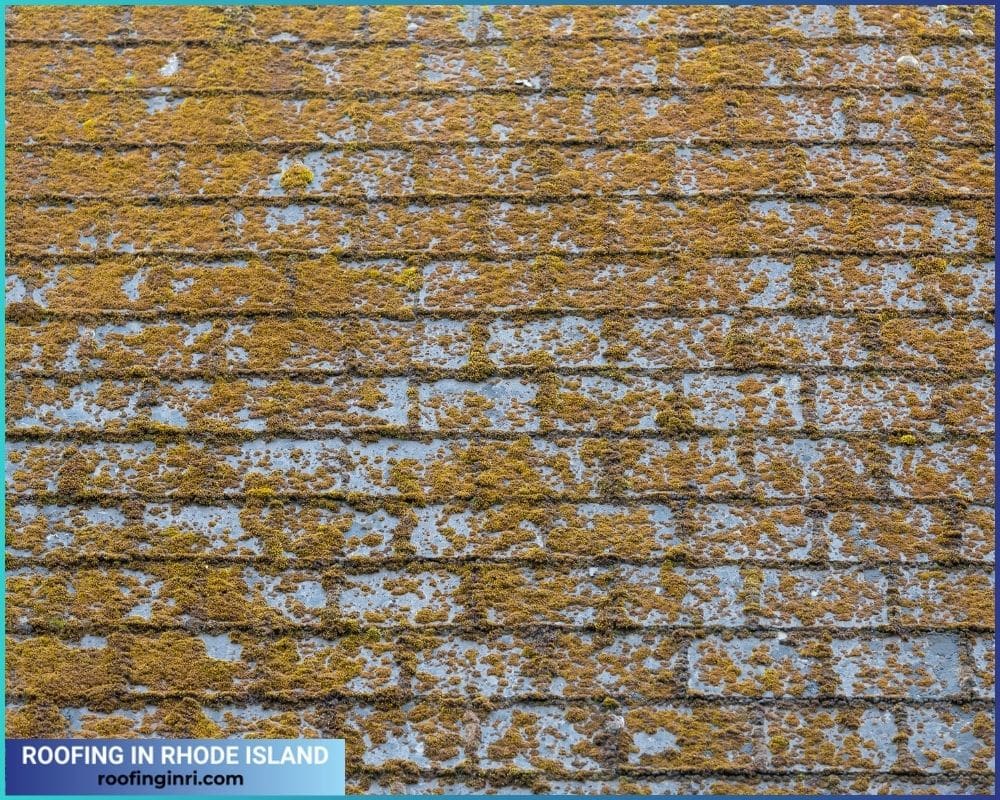
If you prefer the DIY approach, here are the step-by-step guidelines:
Step 1: Safety First – Gather Your Gear
Before diving into the battle against mold, ensure your safety. Gather the following gear:
- Protective Clothing: Wear long sleeves, pants, gloves, and eye protection to shield yourself from mold exposure.
- Ladder: Ensure it’s stable and placed on a flat surface.
- Cleaning Supplies: Purchase a quality mold remover, a stiff brush, and a garden hose.
Related: How to clean a shingle roof?
Step 2: Assess the Mold Infestation
Assess the amount of mold present before beginning the removal process. Is it a small, localized area, or has it spread across the roof? This assessment will guide your approach.
Step 3: Dry Brushing – Initial Mold Removal
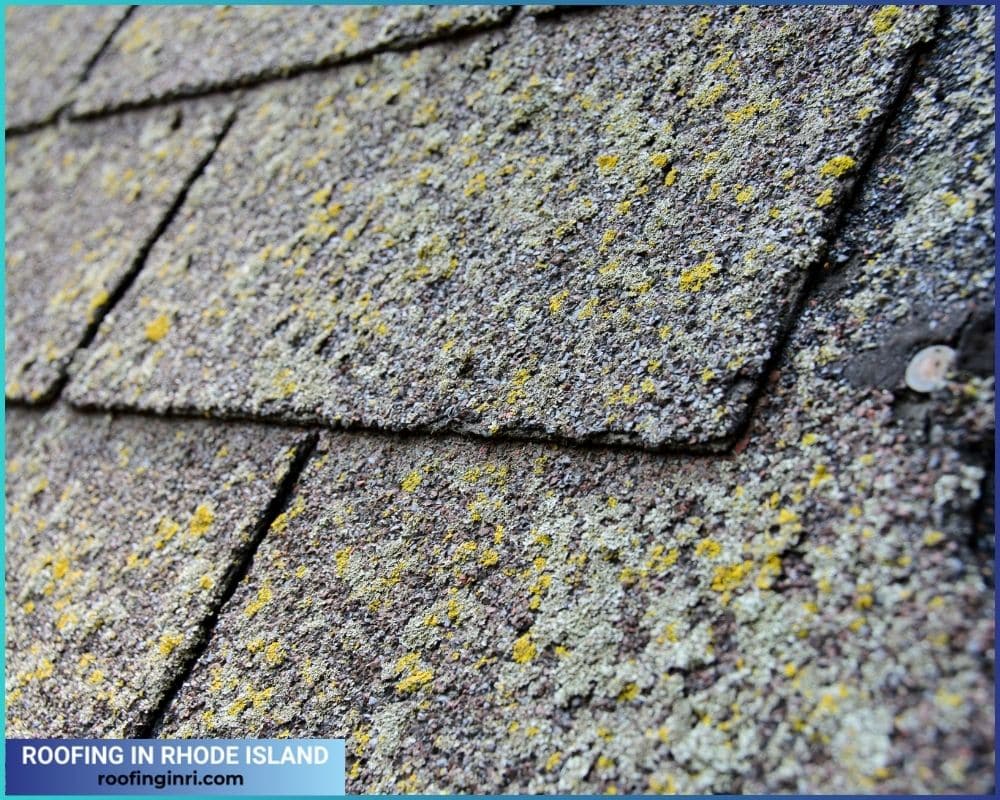
Begin by dry brushing the affected areas. Use a stiff brush to remove loose mold, dirt, and debris. Work methodically from top to bottom to ensure you don’t miss any spots.
Read also: 10 essential tips for roof maintenance and repairs
Step 4: Choose Your Mold Remover Wisely
Select a mold remover specifically designed for roof shingles. Ensure it’s eco-friendly and won’t cause harm to your landscaping. Follow the product instructions meticulously.
Read also: How to repair roof flashing?
Step 5: Application of Mold Remover
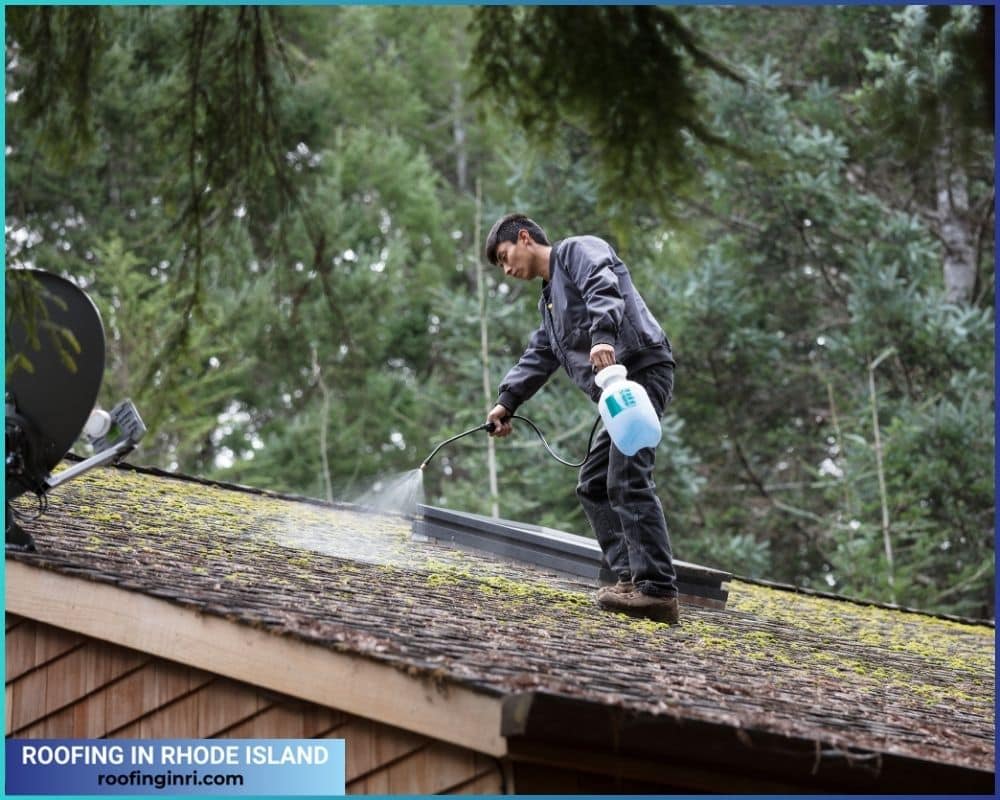
Apply the mold remover generously over the affected areas. Let it sit for the recommended duration, usually 10 to 15 minutes. This gives the solution time to penetrate and break down the mold.
Related: Is mold outside of the house dangerous?
Step 6: Scrubbing – A Little Elbow Grease
Armed with your stiff brush, scrub the shingles vigorously. Focus on stubborn areas using a circular motion. This physical action is crucial to dislodging embedded mold.
Step 7: Rinse and Repeat
Once you’ve scrubbed thoroughly, use a garden hose to rinse the roof. Start from the top and work your way down. Assess the cleanliness and repeat the process if necessary.
Read also: A guide to skylight insulation
Step 8: Prevention is Key – Apply Mold Inhibitor
To prevent future mold growth, apply a mold inhibitor. This protective coating will act as a shield, keeping your roof shingles mold-free for an extended period.
Read also: Active and passive ventilation – which one is the best for your roof
Step 9: Inspect and Repair Damaged Shingles
During the cleaning process, closely inspect your roof for any damaged shingles. Replace or repair them promptly to maintain the structural integrity of your roof.

Step 10: Regular Maintenance – Keep Mold at Bay
Establish a routine for roof maintenance. Regularly clean gutters, trim overhanging branches and inspect your roof for any signs of mold or damage. Early detection is key to preventing extensive issues.
Follow these steps to eliminate the mold that’s taken over your roof. Remember, consistency is key. Regular maintenance and swift action against mold ensure a safe and sturdy shelter for you and your loved ones. Don’t let mold compromise the integrity of your home – fight back with knowledge and a little elbow grease!
Read also: Why do you need an ice and water shield on the roof?
Hire a roofing contractor – an alternative and safe way
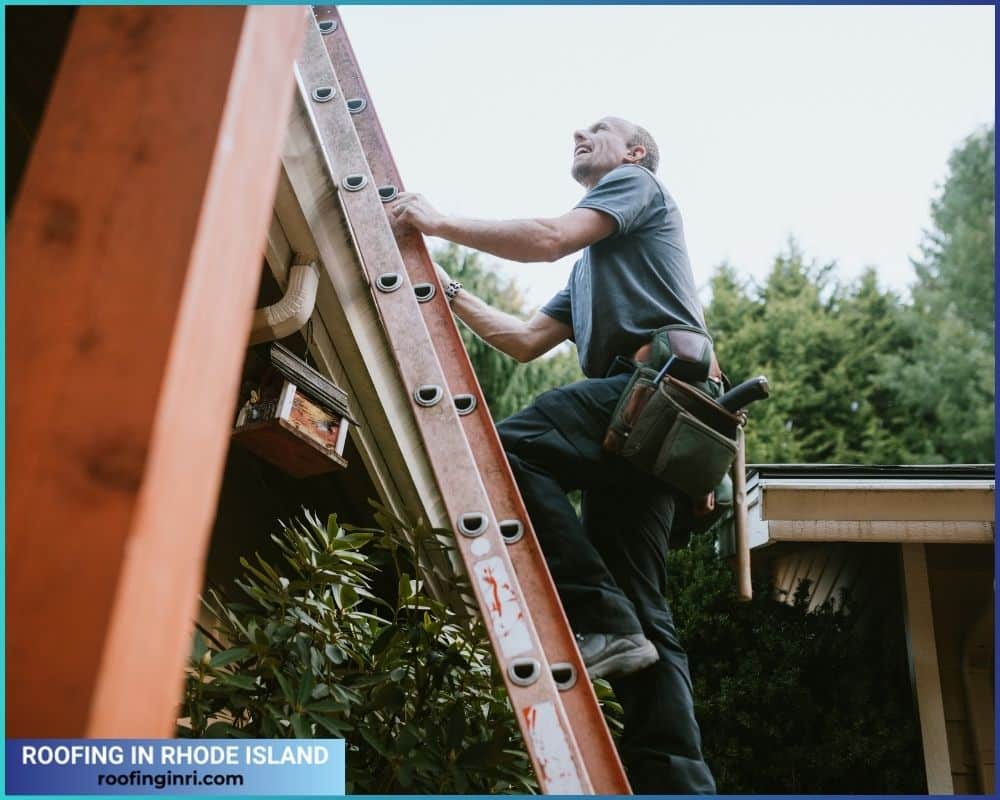
Dealing with mold on roof shingles can be daunting, and attempting a do-it-yourself solution may lead to unintended consequences. Hiring a professional roofing contractor ensures a thorough and effective mold removal process, offering several key benefits.
1. Expertise in Roofing Systems: Precision Matters
Roofing contractors possess in-depth knowledge of various roofing materials and systems. They can identify the mold affecting your shingles and tailor the removal process accordingly. Their expertise ensures precision, preventing any damage to the roofing structure during the cleanup.
Read also: Best roofing materials for flat roofs
2. Proper Safety Measures: Protecting You and Your Property
Mold removal involves potential health risks due to exposure to mold spores. Roofing contractors follow industry-standard protocols and use necessary safety gear to minimize health hazards. Additionally, they employ safety measures to protect your property from accidental damage during removal.

Read also: The reasons why you should not install metal roofs over shingles
3. Professional Equipment: Tools of the Trade
Roofing contractors can access specialized equipment designed for efficient and thorough mold removal. Their arsenal of tools, from high-quality cleaning solutions to power washers and protective coatings, ensures a comprehensive approach to eliminating mold and preventing its resurgence.
Related: Top 10 signs of bad roofing contractors
4. Time and Cost Efficiency: Saving You Both
Although a DIY approach may appear cost-effective, hiring a roofing contractor can complete the job correctly. Their efficiency in executing the mold removal process means less downtime for your home, reducing potential secondary damages from prolonged mold exposure.

Related: When is the best time to replace a roof?
Conclusion
Entrusting mold removal to a professional roofing contractor brings peace of mind. Their expertise, commitment to safety, specialized equipment, and efficiency make them a valuable investment in ensuring a mold-free home environment.
Ready to elevate your home’s protection and curb appeal? Call us at (401) 868-1313 today for expert roofing solutions in Rhode Island (Providence, Pawtucket & Woonsocket) – because your roof deserves the best care it can get!


